

How to use cartoon people in PowerPoint
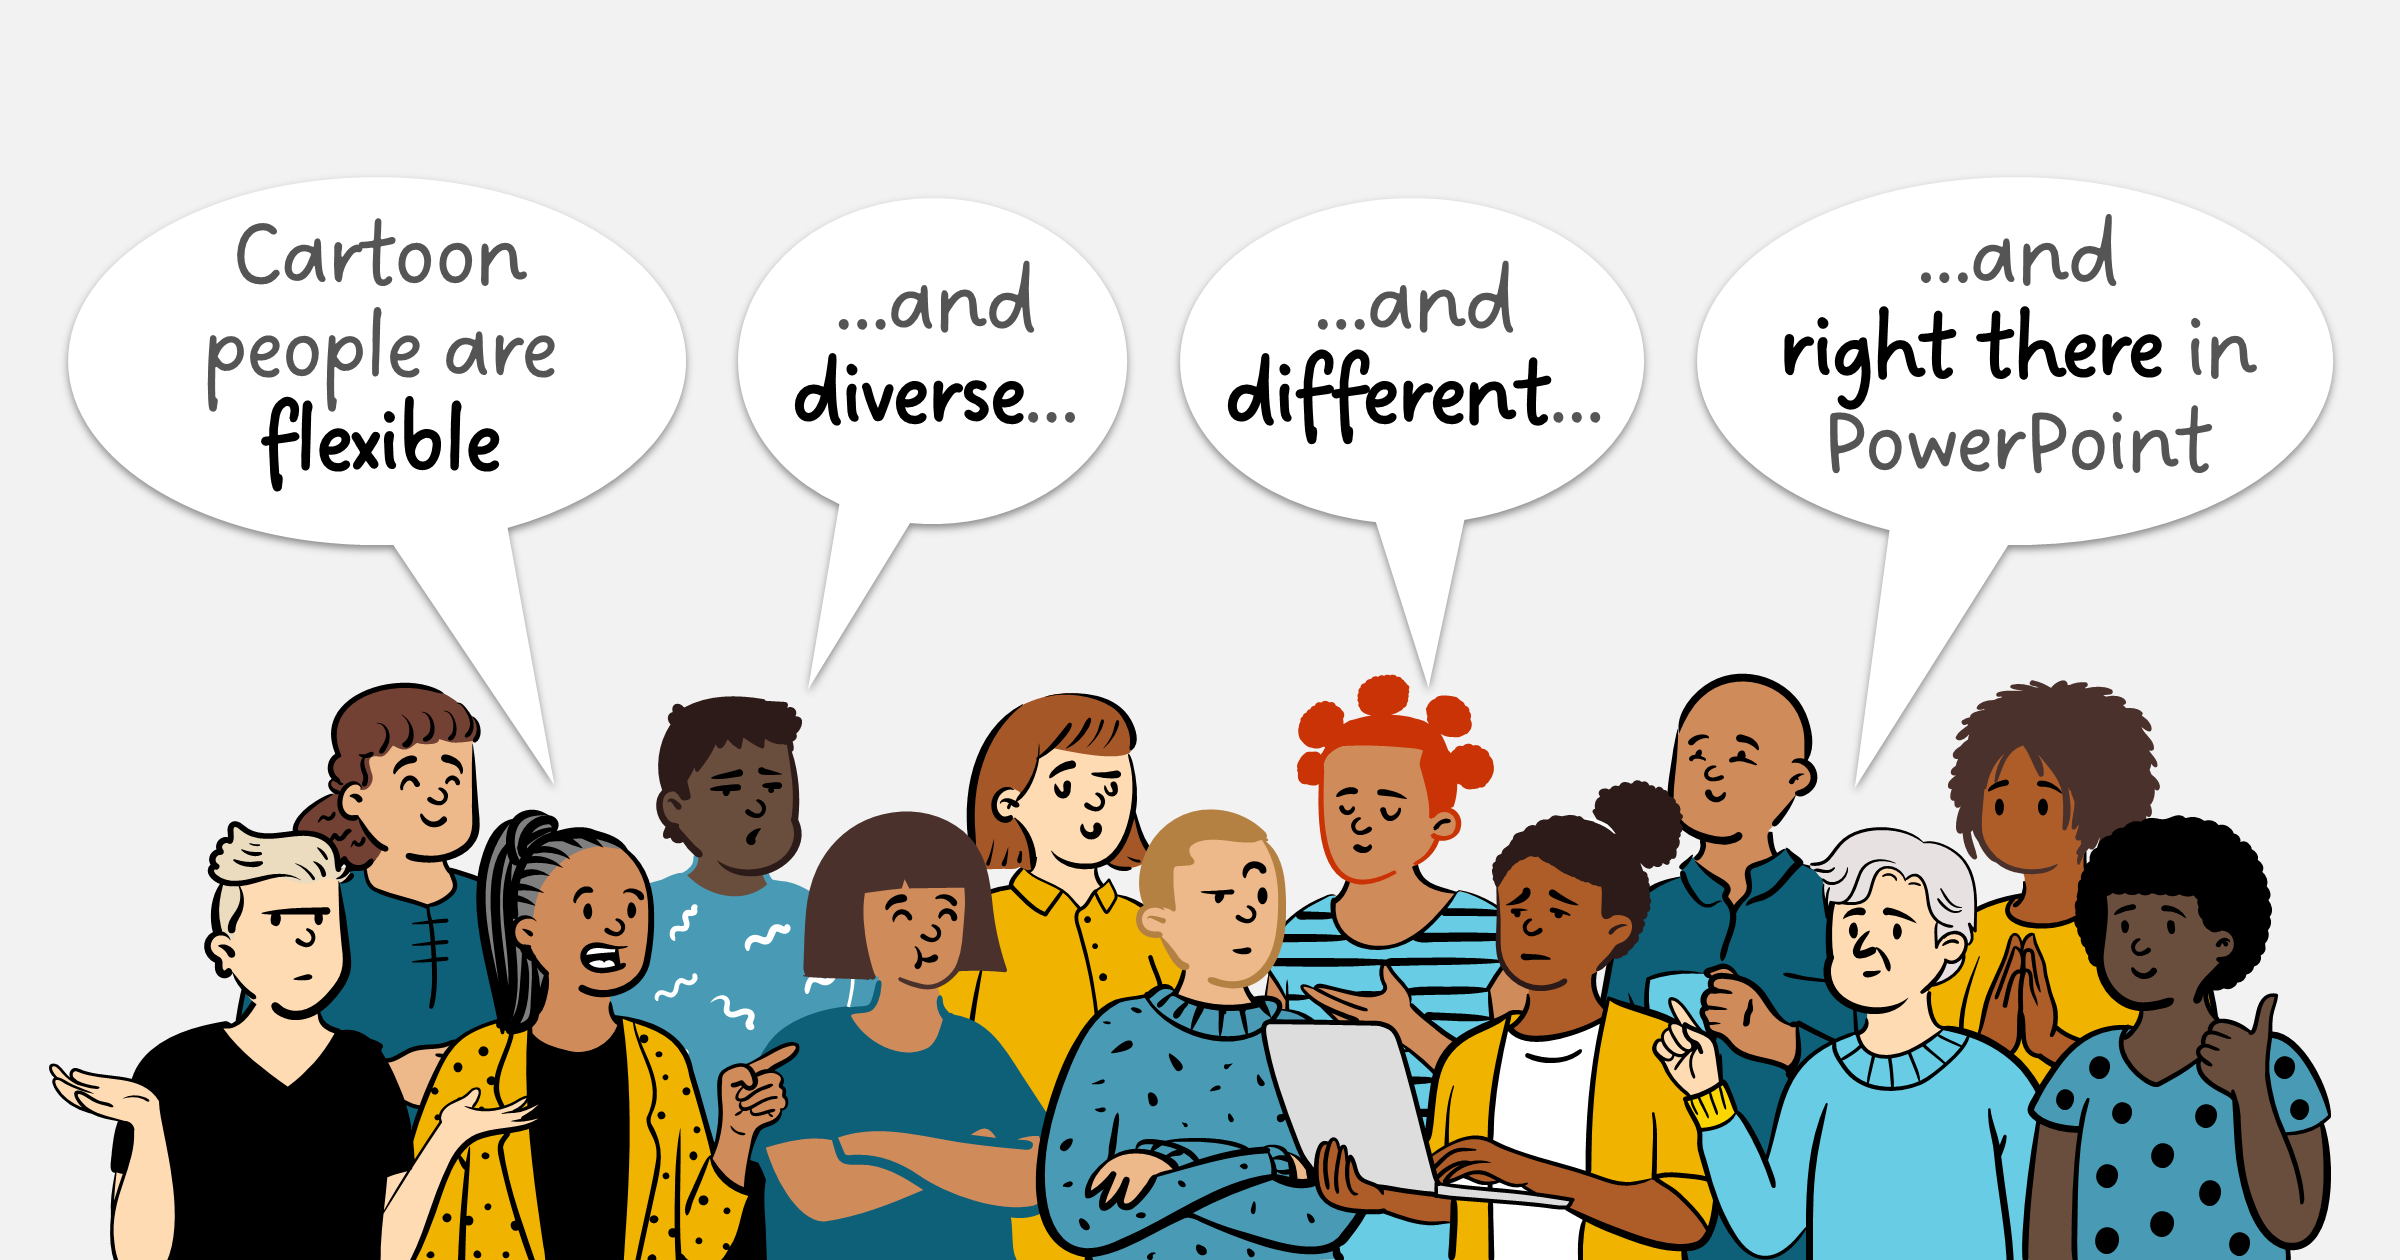
Most people I train don’t realise that there is host of cartoon people available right inside PowerPoint. Before I get to where they are hiding and how to use them, let me tell you why they are great.
Cartoon people images are a brilliant resource:
1. They are flexible
Finding a photo image that fits your needs can be time-consuming and frustrating. Does it have the right number of people? Does it portray the right situation – or at least have a non-distracitng background? Does the colour palette fit well enough with your template colour scheme? Is iit free?
Whereas the usefulness of cartoon people usefulness lies in their simplicity. You can build a picture of the right type and number of people for whatever you want. And then apply your colour palette so they feel like an integral part of the deck.
2. They are diverse
Cartoon people are relatively neutral, from an inclusion perspective. They don’t have skin tones (unless you want to – see the formatting tips at the bottom). And the ones in PowerPoint cover a pretty good range of gender, age, body shapes, disabilities, clothing, hair styles and more.
3. They are different
People will remember a deck that uses cartoon people, because very few decks do. They are a welcome surprise, something different from the norm.
4. They are right there
You don’t even need to leave PowerPoint or jump through hoops to get them. It’s as easy as inserting an icon. (They may not be available on some Microsoft Office licence types.)
How can I use cartoon people in my slide?
They come into their own when you have a people-centric message. For example:
Talking about the impact of change on the people in an organisation
Explaining the user experience of a new system rollout
Providing feedback from customers or users
Discussing performance management processes or HR policies
Example of using cartoon people
Here are a few slides showing some different ways you can use them. The limit – as the cliché goes – is your imagination.
How to insert and format Cartoon People
Inserting a cartoon person
Grabbing the cartoon people is easy:
Insert tab
Icons (the rubber duck)
Click on Cartoon People and this box will appear:
.png)
You’ll see a host of options. Some are ready-assembled people, but essentially you need to choose from:
- A head & hair style
- A face/expression
- A body: either upper-half or whole
- Optional accessories: glasses, facial hair, masks, jewellery etc
Pick what you want, then click Insert just like for icons.
Building a person
If you have chosen the various components yourself, you’ll need to align them. There’s no magic formula to this or auto-alignment. Just do it by eye.
Tip: Once you have assembled your person, if you decide you want to change something such as the face, can can swap it directly:
Right-click > Change graphic > From icons…
Click Cartoon people
Choose your new face (or head or body) and click Insert
Formatting
When you first insert a person, they are filled with black, just like icons. You can change the fill colour in the same way as an icon.
But like icons*, you can also separate the people into different parts and apply more than one colour, as shown in the examples above. To do that, you have to convert them from the SVG format that they are are inserted with. Luckily, that’s really easy in PowerPoint:
Turn them into shapes with Graphics format > Convert to Shape
Ungroup them to be able to better select the component part
Try selecting different components and formatting accordingly.
The ‘fill’ shapes (hair, skin, clothing) are white to begin with, so you might find it easier to see these if you move the person off of the slide onto the ‘pasteboard’ area. You can add colour to these to make them whatever colour you want.
Play around to get the hang of it.
If you are looking for skin-tone colours, there are plenty of articles on that. You might want to check out the Monk Skin Tone Scale, for example. I’m not able to recommend one set of skin tones over another.
* If you didn't realise you can convert icons like this, read this article: How to make the most of PowerPoint's inbuilt icon library.
Want more tips like this in your inbox?
It's useful*
It doesn't flood your inbox (monthly-ish).


.png)
.png)


