

How to turn PNG icons into editable SVGs
SVGs are the clear future of icons. They scale perfectly and you can set them to any colour you like. You can even edit them in PowerPoint. But sometimes you are stuck with an old bitmap icon. Probably a PNG (portable network graphic). Either you are working on an old deck, or someone has found icons without checking what type they are.
At first glance, a PNG icon might look fine on your slide. But if you want to change it you’ll soon run into two major problems:
- PNGs scale badly. Just enlarge the PNG and you’ll soon see a blurry pixelated effect. Not cool.
- You can’t recolour them properly. Sure, PowerPoint tells you it’s possible, and under the Picture Format > Colour dropdown you’ll have a six choices. But if you try one, you’ll find it doesn’t actually match your colour palette properly. It’s darker, duller. And if you use the fill command? That just colours in the background.
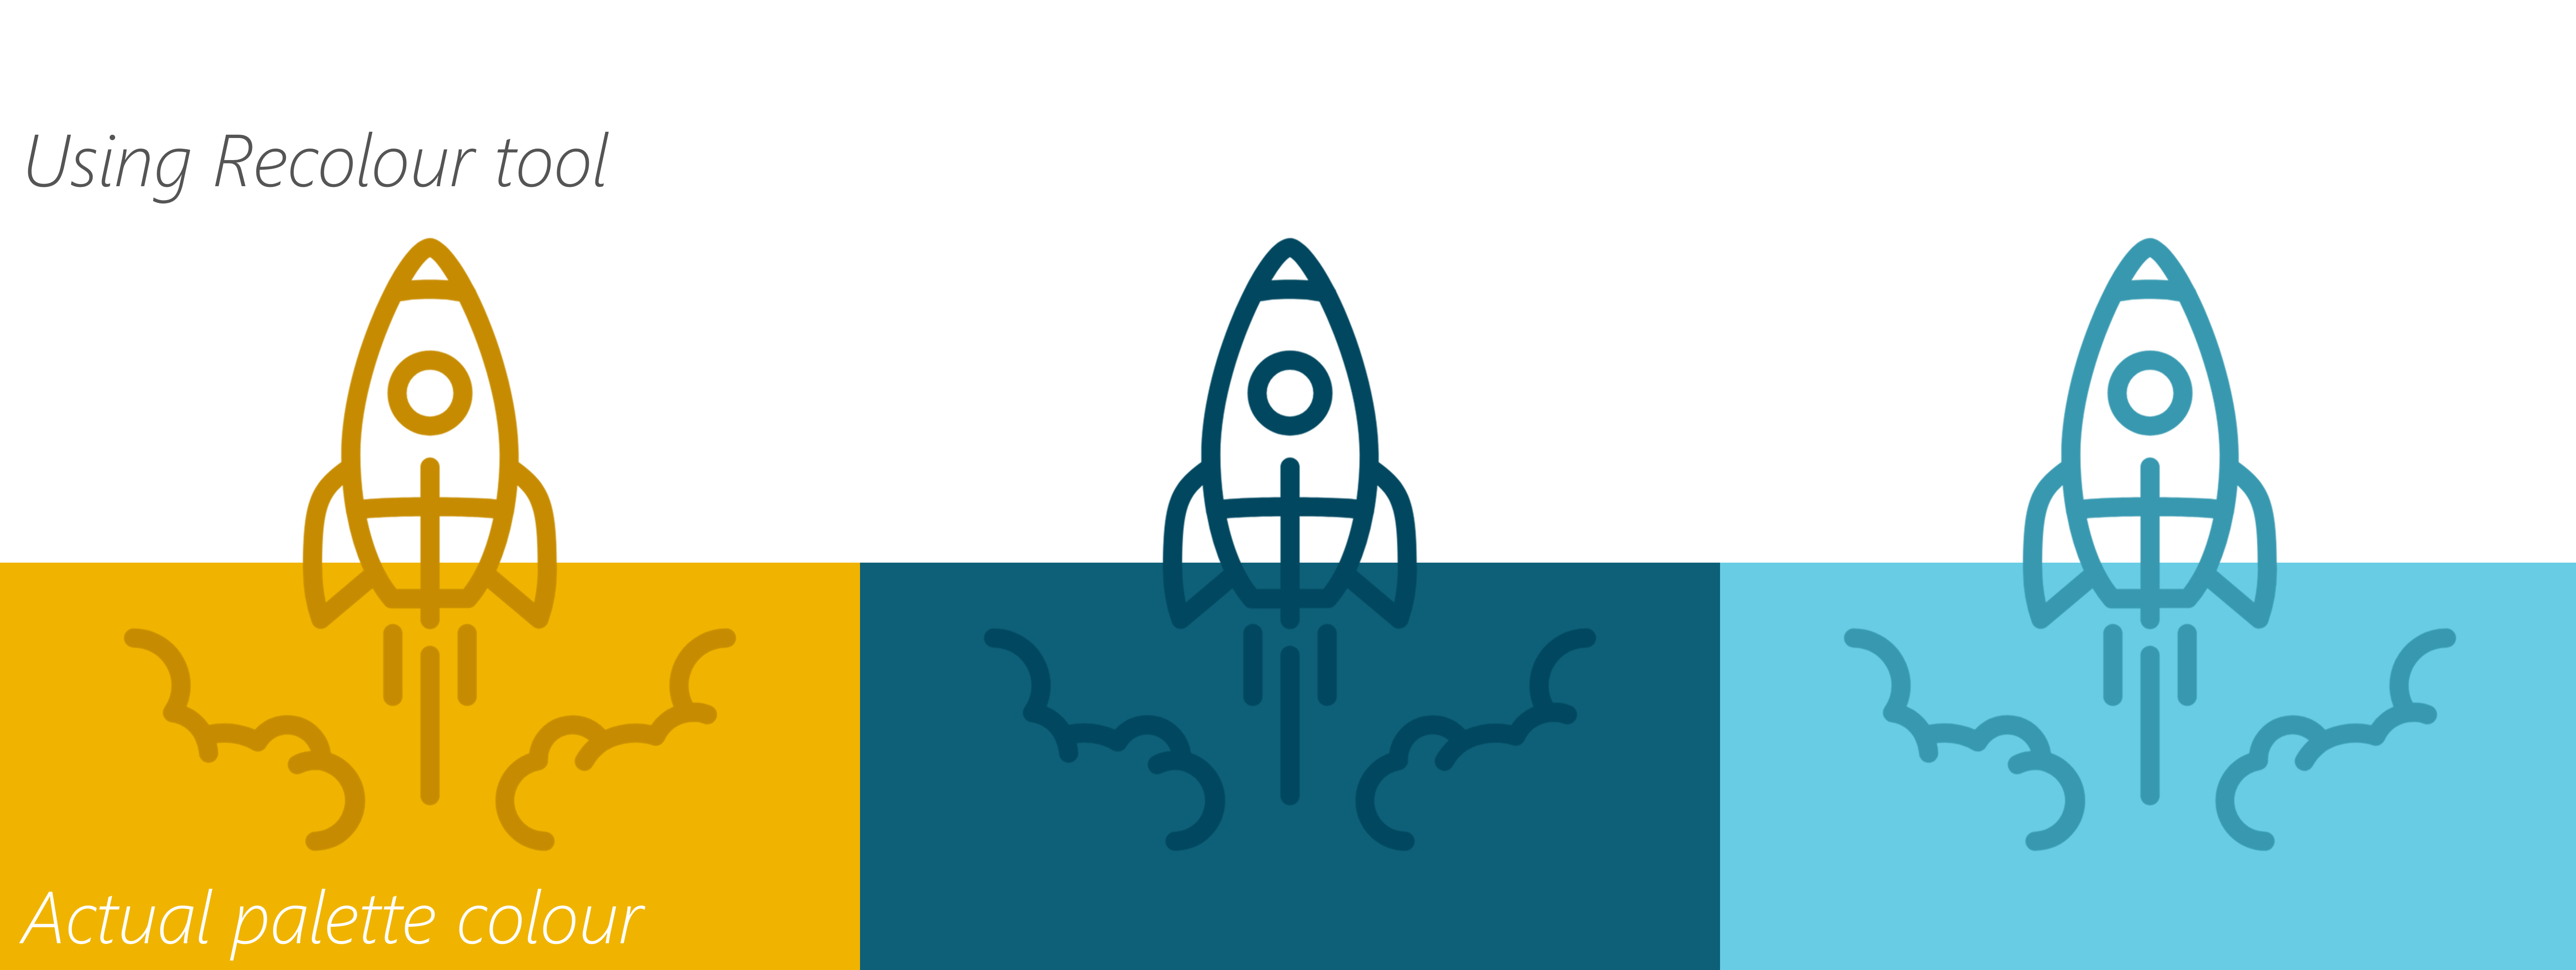
For quality slides, both of these issues are deal breakers on their own. Often we would try and find a similar SVG and replace it with that – but that’s not always possible.
So how do you edit a PNG icon? The quick answer is you don’t: you change it to an SVG. To do that we have to step quickly out of PowerPoint, but it’s not tricky.
Steps to turn a PNG into an SVG
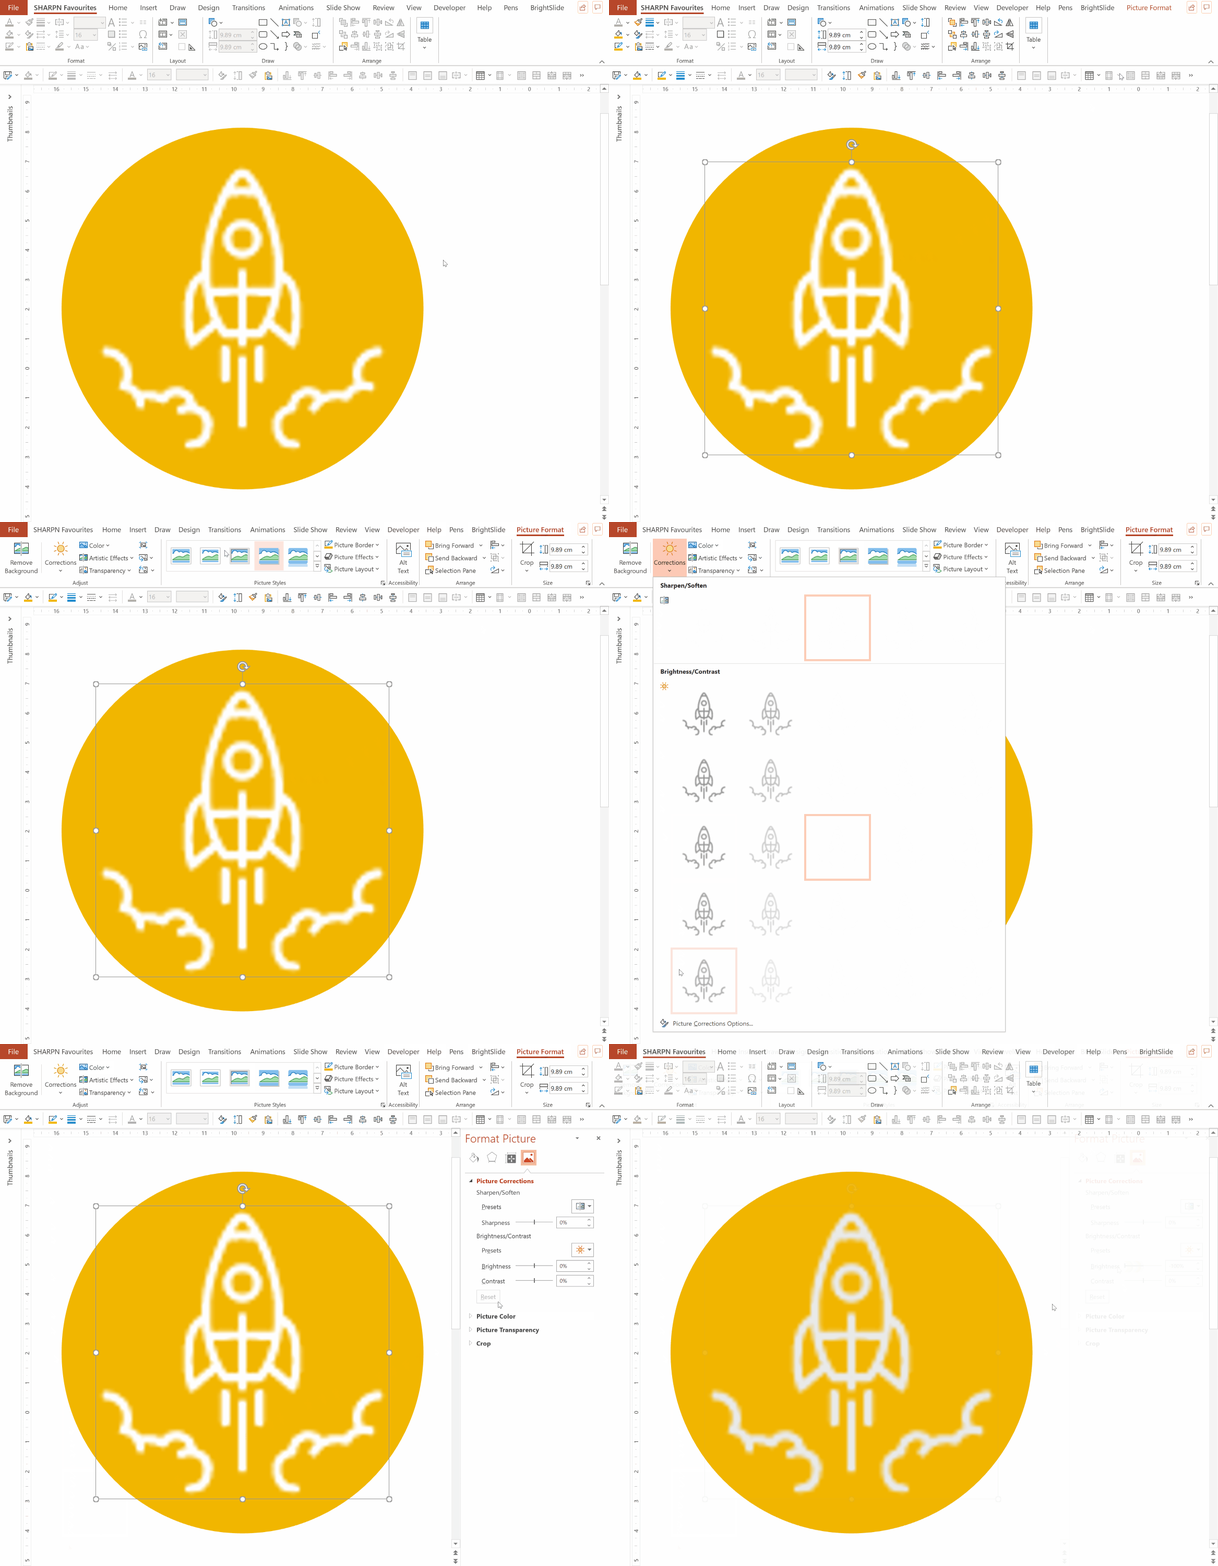
1. Turn it black
The tool we’ll use in a moment works best with black – and doesn’t work at all with white. That’s easy to fix:
Make a copy of the icon
Picture Format > Corrections > Picture Correction Options… (at the bottom)
Move the Brightness slider to 0%. The image should turn black. If that doesn’t work, there may have already been some image tuning. Press the Reset button and try again. You may also need to press the Reset button in the Recolour section.
Note: in the screen recording below, the yellow circle is not part of the image. It is there to provide some contrast with the white PNG.
2. Save the picture as a file
Now you need to extract the image from PowerPoint. Important: the size of the image in PowerPoint directly impacts the resolution when you save it – and the higher the resolution, the more detail your SVG will have.

Make your black PNG large. At least as tall as the slide itself.
Right-click and Save as Picture…
Check that Save as Type is set to PNG
Save the file somewhere
3. Convert to SVG
We’ll use a conversion website for this. We like Convertio, the results are usually good. But there are plenty of other sites that will do this for you.
Go to Convertio
Add the file you just saved
For the ‘to’ dropdown select Vector and then SVG
Click Convert, wait and then download your new file
4. Add the SVG to your slide
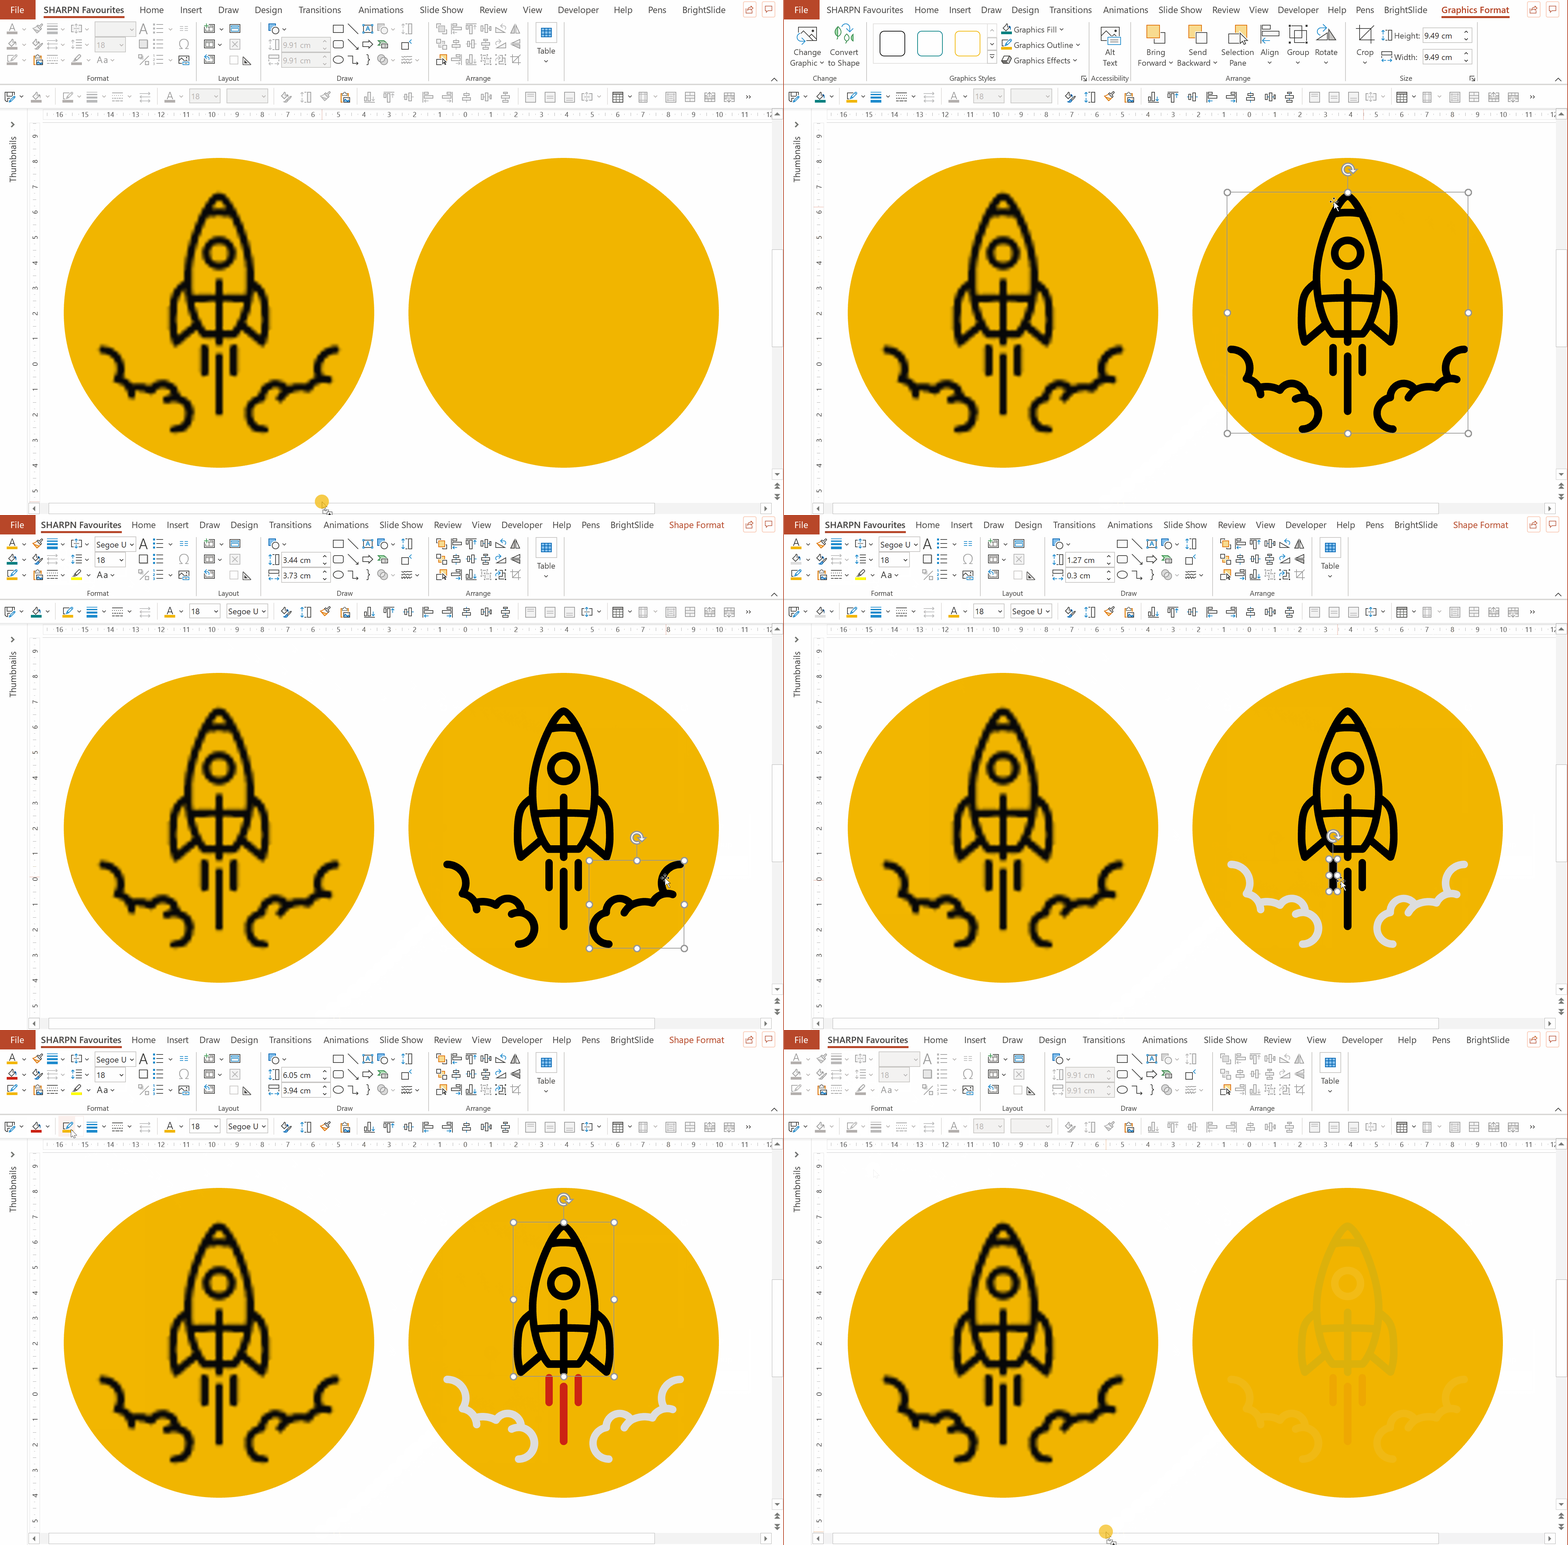
Simply drag your shiny new SVG file to your slide and enjoy the freedom to colour it however you want and make it as large as you like.
Watch-outs
The SVG conversion isn’t perfect and you may lose some detail. But in our experience the result is still better than the original PNG version.
Don’t be tempted to use this for logos – except as a last resort. Instead, try searching for a proper SVG version of the logo. See our list of good sources of SVG logos.
Want more tips like this in your inbox?
It's useful*
It doesn't flood your inbox (monthly-ish).




.png)
.png)


